7 Stylish Summer Nail Designs You Can DIY on a Budget
7 Stylish Summer Nail Designs You Can DIY on a Budget
Get ready to give your nails a summer refresh without breaking the bank! This guide is packed with trendy DIY designs that are not only budget-friendly but also look like they came straight from the salon. Grab your favorite polishes and let’s create stunning nail art that will have everyone asking where you got it done!
Geometric Patterns Using Tape
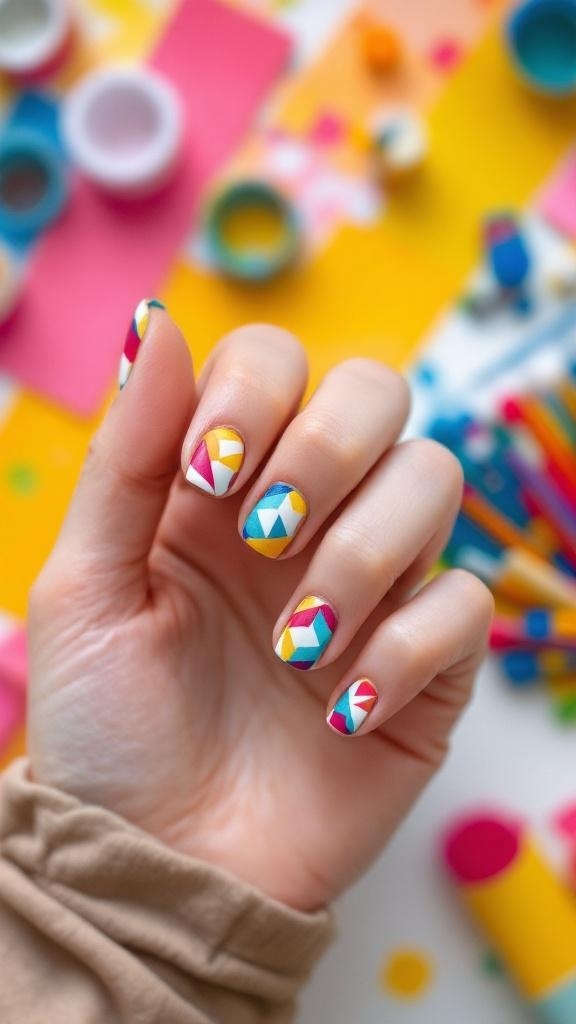
Geometric patterns are a fun way to add a modern twist to your nails. Using tape makes it easy to create sharp lines and unique shapes without needing advanced skills. The image shows a hand with beautifully painted nails featuring colorful geometric designs. Each nail has a mix of triangles, squares, and other shapes in vibrant colors like pink, yellow, and blue.
To achieve this look, start by painting your nails with a base color. Once it's dry, use tape to create the desired shapes. Apply different colors in each section, and carefully remove the tape to reveal clean lines. This technique not only looks professional but also allows for endless creativity.
Whether you want a bold look or something more subtle, geometric patterns can be customized to fit your style. Plus, it's a budget-friendly way to enjoy salon-quality nails at home!
Minimalist Nail Dots
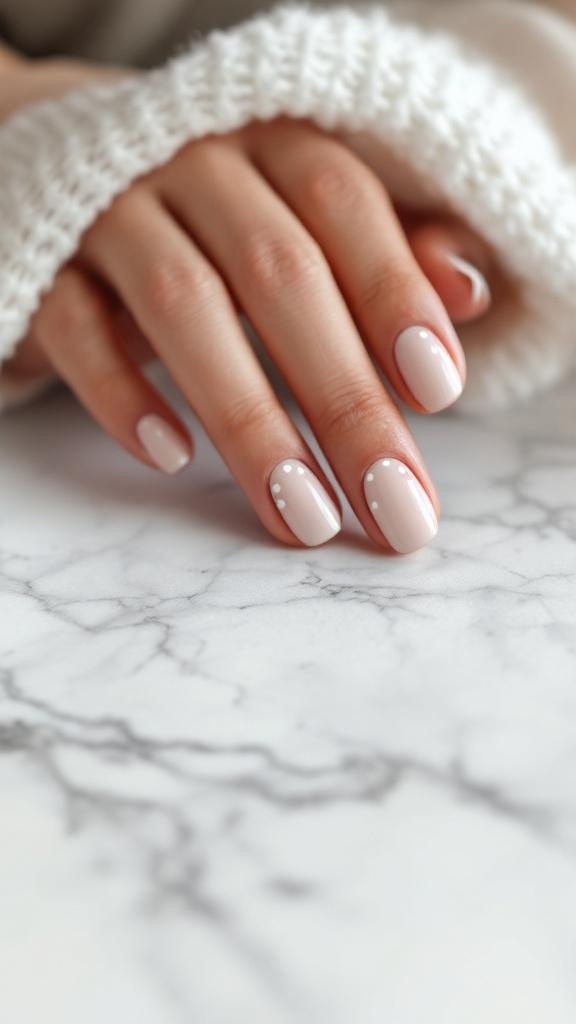
Minimalist nail dots are a chic way to keep your nails looking fresh without breaking the bank. The image shows a lovely set of nails painted in a soft nude shade, adorned with delicate white dots. This simple design is perfect for those who want a touch of elegance without the fuss.
The beauty of minimalist nail art lies in its simplicity. The soft color serves as a perfect canvas, while the dots add a playful yet sophisticated touch. You can easily recreate this look at home with just a few supplies. Grab a nude nail polish, a white polish for the dots, and a dotting tool or even a bobby pin!
Start by applying a base coat to protect your nails. Once dry, paint on two coats of the nude polish for a smooth finish. After that, use the dotting tool to create evenly spaced dots along the cuticle or in a line across the nail. Finish with a top coat to seal your design and add shine. This trendy look is not only budget-friendly but also versatile enough for any occasion!
Tropical Fruit Nail Designs
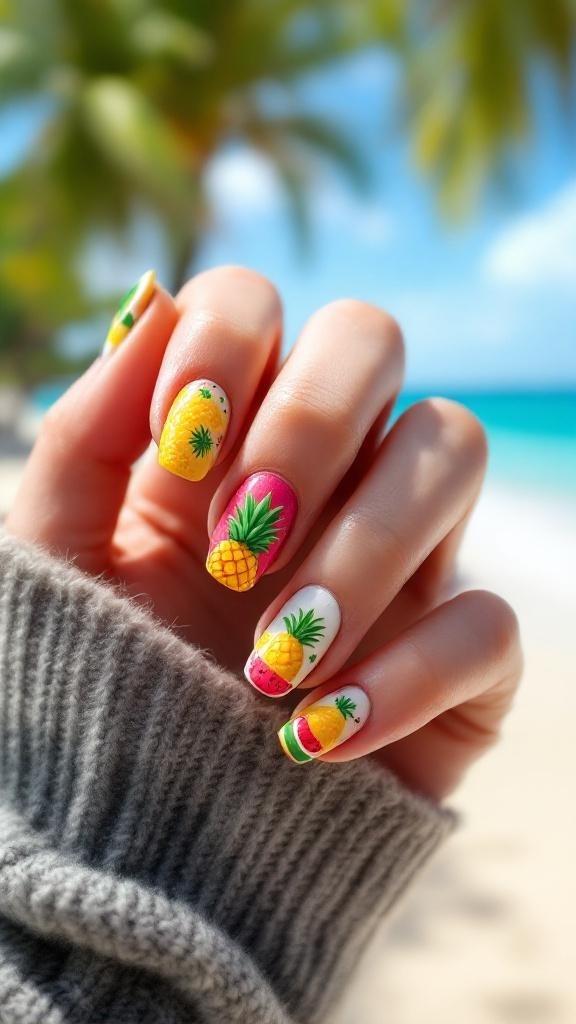
Summer is the perfect time to show off fun and fruity nail designs. Tropical fruit nail art brings a splash of color and a playful vibe to your look. The image captures a hand adorned with vibrant designs featuring pineapples and watermelons, perfect for a sunny day at the beach.
These designs are not only eye-catching but also easy to recreate at home. You can use bright nail polishes and simple nail art tools to achieve this look. Start with a base coat to protect your nails, then paint each nail in a different fruity design. Think bold yellows for pineapples and juicy pinks for watermelons.
To make your tropical nails pop, add some details like green leaves or tiny dots. This adds depth and makes the designs more lively. With a little creativity, you can have salon-perfect nails without breaking the bank. So grab your nail supplies and get ready to flaunt your summer style!
Metallic Foil Accents
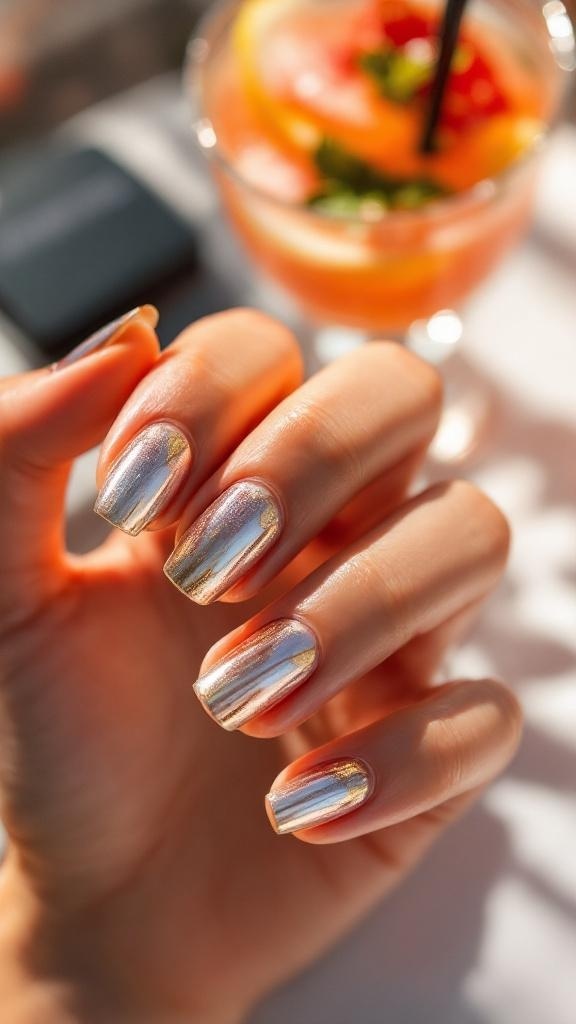
Metallic foil accents are a fun way to add a touch of glam to your summer nails without breaking the bank. The image shows beautifully manicured nails featuring shiny gold and iridescent foil designs. The combination of soft pastel colors and metallic finishes creates a chic look that’s perfect for any occasion.
To achieve this look at home, start with a base coat to protect your nails. Once dry, apply a light polish as your base color. After that, cut small pieces of metallic foil and gently press them onto your nails while the polish is still tacky. Finish with a top coat to seal everything in place. This simple technique can make your nails look salon-perfect!
The best part? You can mix and match different foil colors and patterns to create a unique design that reflects your personal style. Whether you prefer subtle accents or bold statements, metallic foil can elevate your nail game this summer.
Floral Nail Art with Stickers
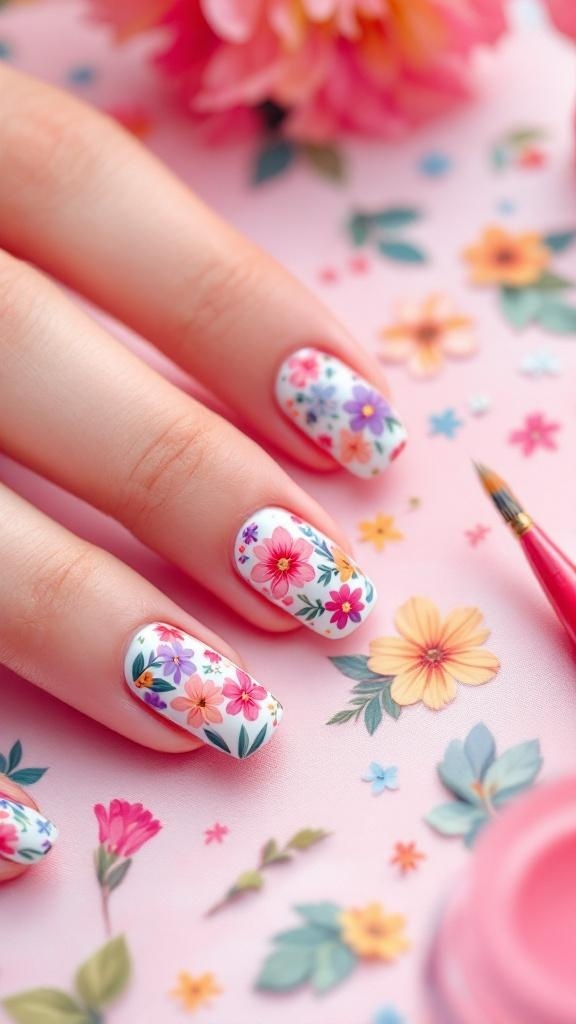
Floral nail art is a fun way to bring a touch of nature to your fingertips. Using stickers makes it super easy, even for beginners. The image shows beautifully decorated nails with colorful flowers that pop against a light background. This design is perfect for summer and can be done at home without any fancy tools.
To create this look, start with a base coat to protect your nails. Once dry, apply a coat of your favorite light nail polish. After that, simply peel off the floral stickers and place them on your nails. You can mix and match different designs for a unique style. Finish with a top coat to seal everything in and add shine.
This DIY floral nail art is not only budget-friendly but also allows you to express your creativity. Whether you're heading to a picnic or just want to brighten up your day, these nails are sure to impress!
Colorful Ombre Techniques
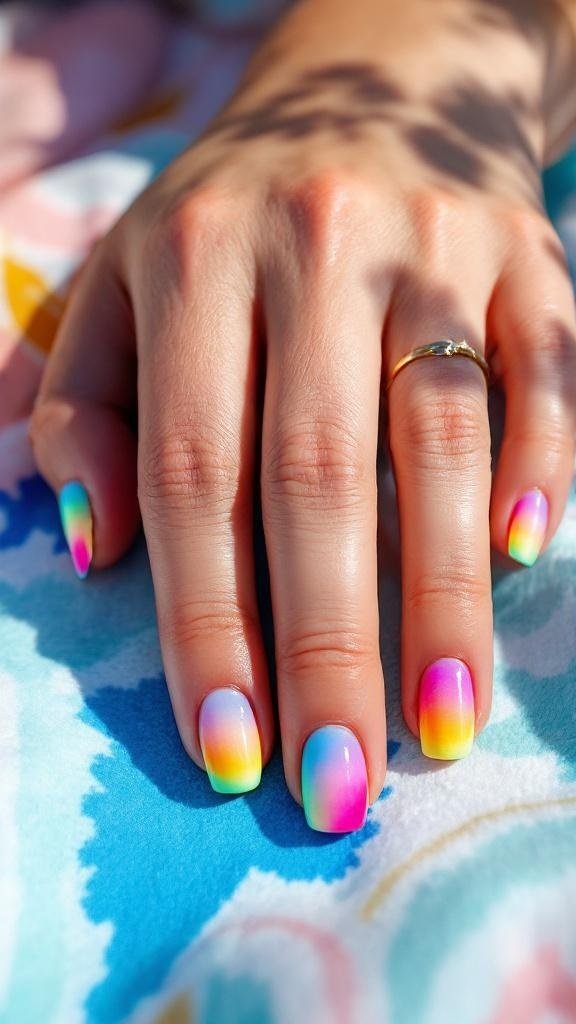
Ombre nails are a fun way to add a splash of color to your summer look without breaking the bank. The image showcases a stunning set of ombre nails that blend vibrant hues of pink, blue, and yellow. This design is not only eye-catching but also easy to achieve at home.
To create a similar effect, start with a base coat to protect your nails. Then, choose three complementary colors. Use a makeup sponge to dab the colors onto your nails, blending them together for that perfect gradient. Finish with a top coat to seal the look and add shine.
This technique allows for endless creativity. You can mix and match colors based on your mood or outfit. Plus, it’s a great way to express your personality. Whether you prefer bold shades or softer pastels, ombre nails can be tailored to fit your style.
Pastel Color Block Nails

Pastel color block nails are a fun and trendy way to brighten up your summer look without breaking the bank. The image shows a hand with beautifully painted nails in soft pastel shades, perfectly capturing the essence of summer. The colors blend seamlessly, creating a playful yet chic vibe.
To achieve this look, you can use a variety of pastel nail polishes. Think light pinks, blues, yellows, and greens. Start with a base coat to protect your nails, then apply your chosen colors in blocks. You can alternate colors on each nail or create a gradient effect for a more unique style.
Surrounding the hand are seashells and a starfish, adding to the beachy feel of the design. This setting not only enhances the pastel colors but also inspires you to think of sunny days by the shore. Pair your nails with a cozy sweater, as seen in the image, for a relaxed summer look.
Don't forget to finish with a top coat for shine and durability. With just a few simple steps, you can create salon-perfect nails right at home. So grab your favorite pastel polishes and get started!


Comments
Post a Comment