12 DIY Nail Hacks That Will Save You Salon Trips
12 DIY Nail Hacks That Will Save You Salon Trips
If you’ve ever wished for salon-perfect nails without the trip to the salon, you’re in for a treat! These DIY nail hacks will save you time and money while keeping your nails looking fabulous. Get ready to experiment with simple tips and tricks that deliver impressive results right from the comfort of your home!
Perfecting Your Nail Shape at Home
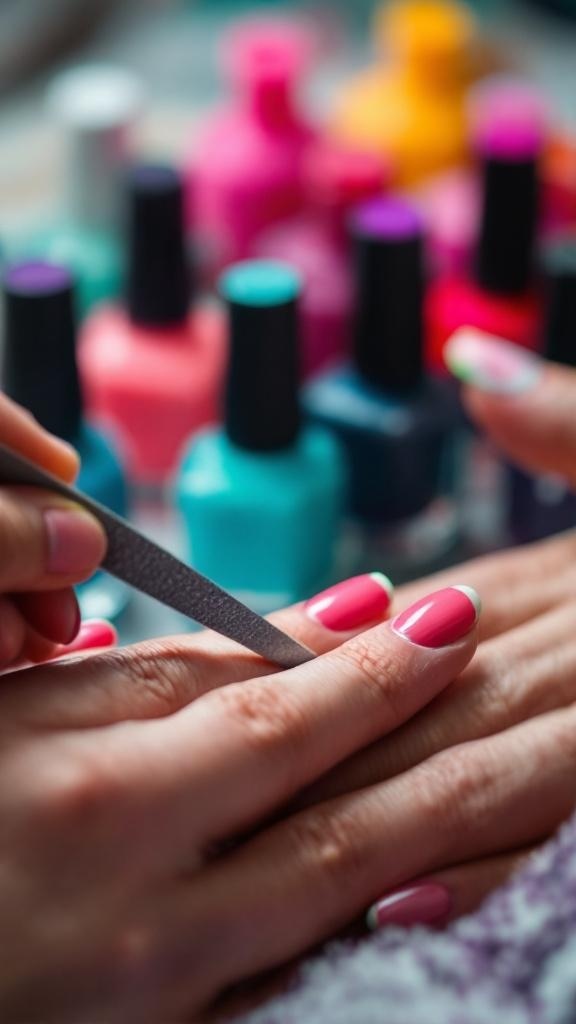
Shaping your nails at home can be a fun and satisfying experience. The image shows a person carefully filing their nails, surrounded by a vibrant array of nail polish bottles. This colorful setup adds a cheerful vibe to the nail care process.
To achieve the perfect nail shape, start by deciding on the style you want—whether it's square, oval, or almond. Use a nail file to gently shape the edges. Remember to file in one direction to avoid splitting.
After shaping, take a moment to push back your cuticles gently. This step helps create a clean look and makes your nails appear longer. Finish off with a coat of your favorite polish for a polished look!
Nail Care Routine for Healthy Growth
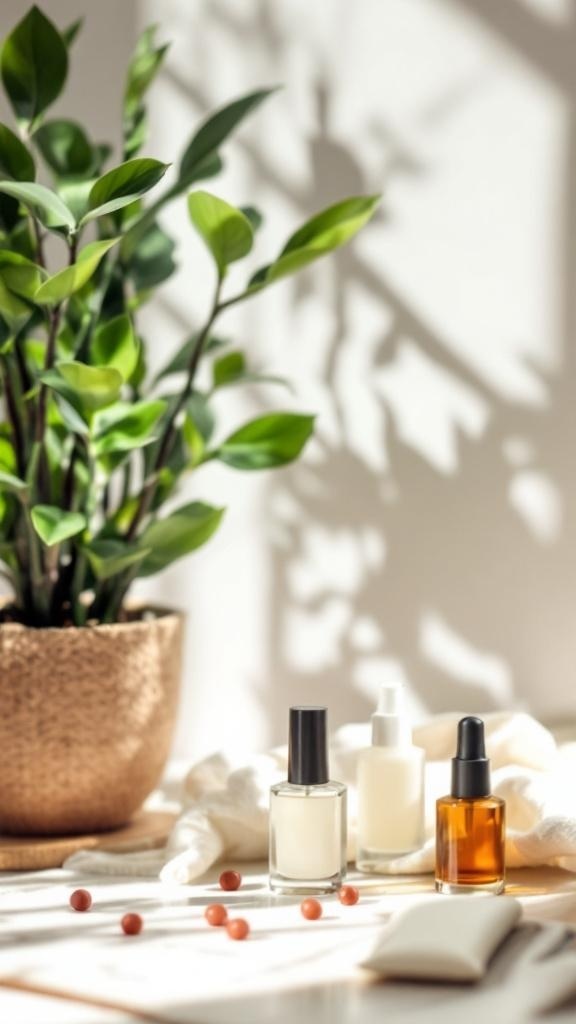
Nail care is essential for healthy growth and a polished look. The image shows a serene setup with nail care products, a plant, and soft textures. This calming scene sets the tone for a DIY nail routine that you can easily follow at home.
Start by keeping your nails clean and trimmed. Use a gentle nail file to shape them. This helps prevent snags and breaks. The clear and colored polishes in the image suggest that you can add a touch of flair while caring for your nails.
Moisturizing is key. Look for oils or creams that nourish your nails and cuticles. The amber bottle in the picture hints at a nourishing oil that can keep your nails hydrated. Apply it regularly for the best results.
Lastly, don't forget about your diet. Eating foods rich in vitamins can promote nail health. Think of nuts, leafy greens, and proteins. Pair this with your nail care routine, and you’ll see a difference in no time!
Creating Nail Art with Household Items
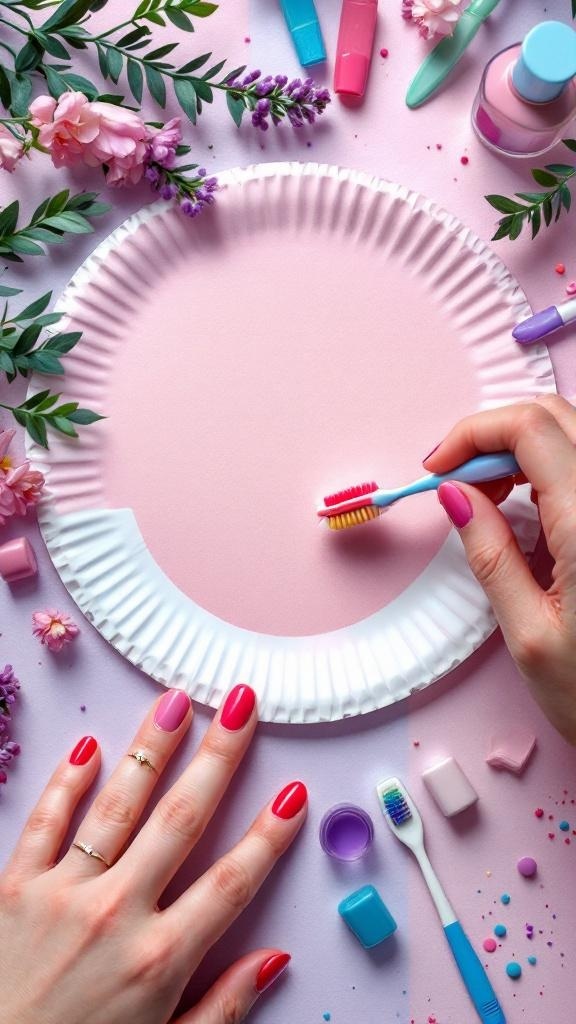
Nail art can be a fun way to express yourself, and you don't need fancy tools to create stunning designs. The image shows a creative setup with a paper plate, a toothbrush, and various nail polishes. This simple arrangement highlights how easy it is to get started with nail art using items you already have at home.
Using a toothbrush for nail art is a clever hack. You can dip the bristles into nail polish and flick it onto your nails for a splatter effect. This technique gives a playful and artistic look without the need for precision. Just remember to protect your workspace with some paper or a cloth!
The colorful polishes in the image suggest a vibrant palette. Mixing and matching colors can lead to unique designs. You can also use small items like sponges or even cotton swabs to create different textures and patterns. The possibilities are endless!
DIY Nail Strengtheners from Kitchen Ingredients
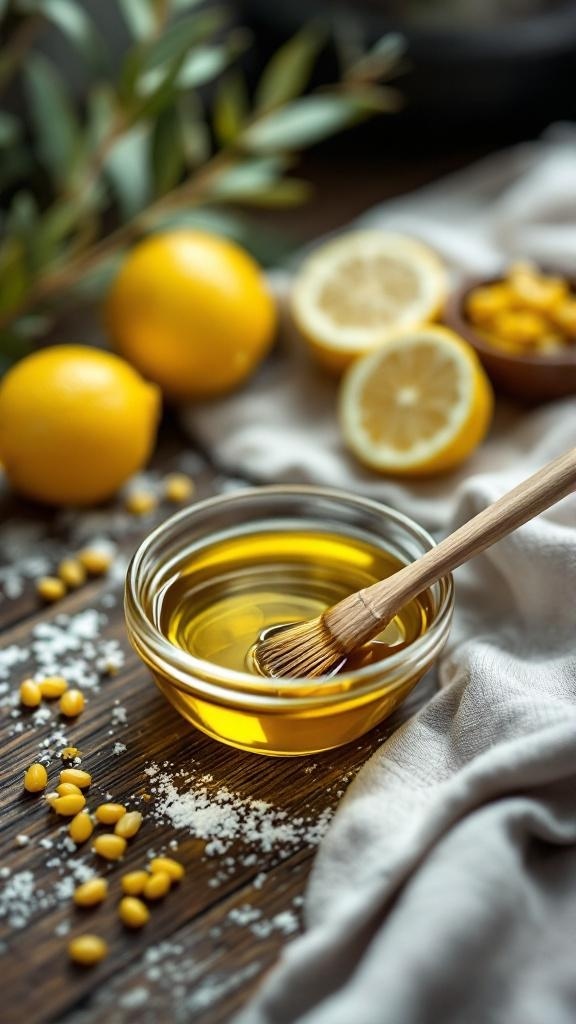
Looking for ways to strengthen your nails without a salon visit? You’re in luck! The image shows some simple kitchen ingredients that can work wonders for your nails. Fresh lemons, olive oil, and a few other items can help create effective DIY nail strengtheners.
Lemon juice is packed with vitamin C, which helps in nail growth and brightening. Olive oil is a fantastic moisturizer that nourishes and hydrates your nails. Together, these ingredients can make a powerful blend.
To whip up your own nail strengthener, mix the juice of one lemon with a tablespoon of olive oil. Soak your nails in this mixture for about 10-15 minutes. Rinse and enjoy stronger, healthier nails!
Creating Custom Nail Polish Colors
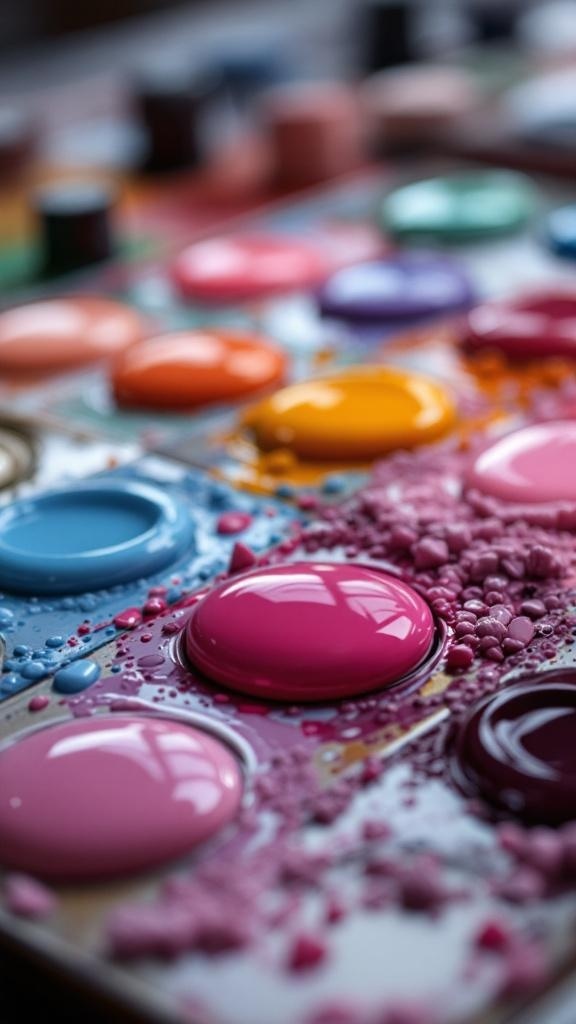
Mixing your own nail polish colors can be a fun and creative way to express yourself. The image shows a vibrant palette filled with various shades of nail polish, ready for blending. Each color can inspire a unique creation.
To start, gather some clear nail polish and your favorite shades. You can use a small mixing tool, like a toothpick or a nail art brush, to combine colors. Just add a few drops of each color to the clear polish until you achieve your desired shade.
Don’t be afraid to experiment! Mixing a bright pink with a soft purple can create a lovely lavender hue. You can also add glitter for some sparkle. Just remember to jot down your color combinations so you can recreate them later.
Once you’ve mixed your custom polish, apply it just like any other nail polish. Enjoy your unique look, and show off your creativity!
Using Tape for Clean Lines
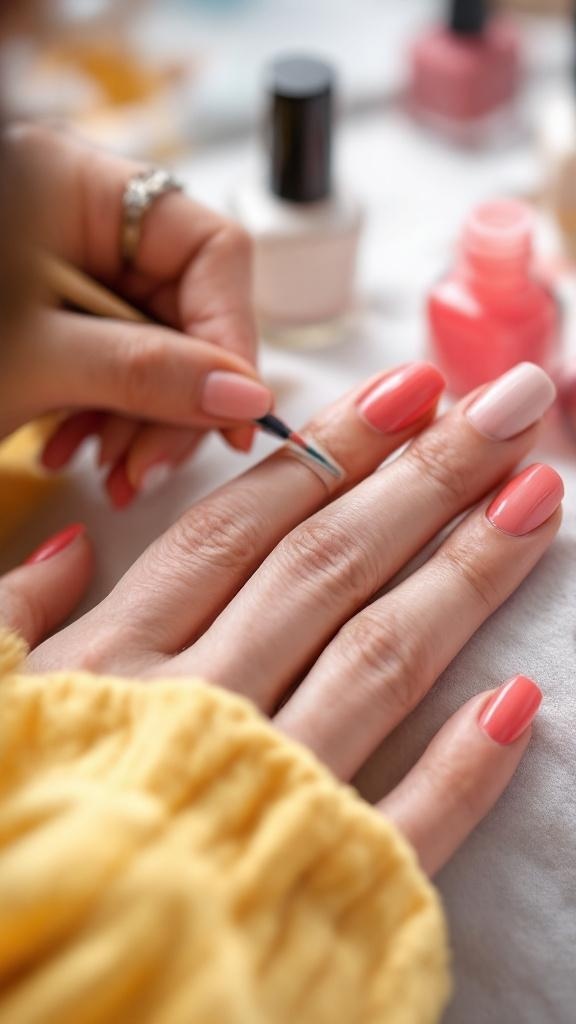
Creating clean lines in nail art can be tricky, but using tape makes it super easy! In the image, you can see someone applying polish while their other hand is prepped with a lovely pink shade. The bright colors pop against the soft background, showing how fun and vibrant DIY nail art can be.
To get started, grab some painter's tape or washi tape. Cut small pieces and stick them on your nails to create the desired shapes. This is perfect for stripes, geometric designs, or even a French tip look. Just make sure the base color is fully dry before applying the tape!
Once you paint over the tape with your second color, wait a few moments and then carefully peel it off. You'll be left with sharp, clean lines that look like they came straight from a salon. It’s a simple trick that can elevate your nail game without any fuss!
Removing Gel Polish Safely at Home
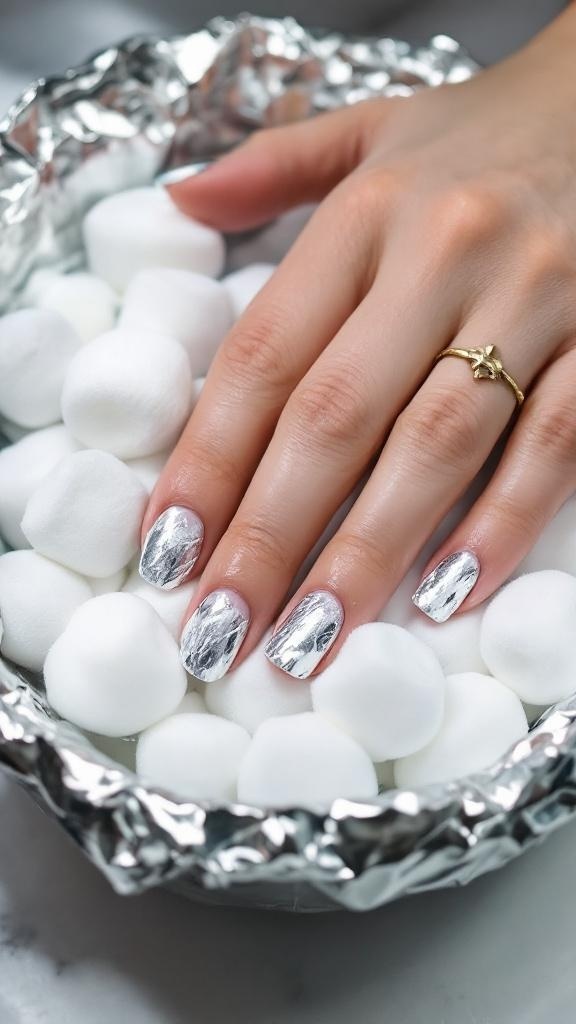
Removing gel polish at home can be a breeze if you know the right tricks. The image shows hands submerged in a bowl filled with white cotton balls, which are likely soaked in acetone. This method is popular for safely lifting gel polish without damaging your nails.
Start by cutting cotton balls into smaller pieces and soaking them in acetone. Wrap each piece around your nails and secure them with aluminum foil. This helps the acetone penetrate the gel polish effectively.
After about 10-15 minutes, gently twist and pull the cotton balls away. If any polish remains, you can use a wooden stick to push it off gently. This method minimizes damage and keeps your nails healthy.
Remember to wash your hands thoroughly after the process and apply some cuticle oil to nourish your nails. With these simple steps, you can enjoy beautiful nails without the salon visit!
Quick Drying Techniques for Polish
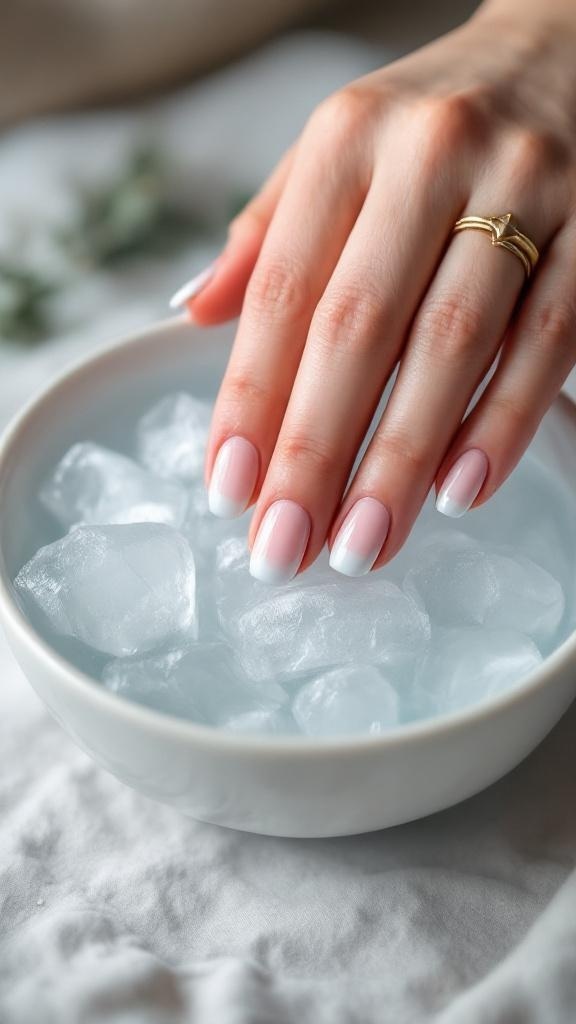
Waiting for nail polish to dry can be a real test of patience. Luckily, there are some clever tricks to speed up the process. One effective method is using ice water, just like in the image. Here, you see a hand with beautifully polished nails resting in a bowl of ice water. This technique helps the polish set quickly.
To try this at home, simply fill a bowl with cold water and ice cubes. After applying your nail polish, dip your nails into the icy water for about 2-3 minutes. The cold temperature helps harden the polish faster, reducing the risk of smudges.
Another tip is to apply thin layers of polish. Instead of slapping on thick coats, go for two or three thin layers. This not only dries quicker but also gives a smoother finish. Pair this with the ice water method for the best results!
Applying Nail Foils for a Glam Finish

Nail foils are a fun way to add some sparkle to your manicure. In the image, you can see a hand applying foil to nails that already have a shiny base. The foils come in various shapes and colors, creating a dazzling effect.
To start, make sure your nails are clean and polished. Choose a base color that complements the foils you have. Once the base coat is dry, apply a layer of nail glue or a special foil adhesive. This will help the foils stick better.
Next, take a small piece of foil and gently press it onto the nail using a dotting tool or your fingers. You can mix and match different colors and shapes for a unique look. Finish with a top coat to seal everything in place and give your nails a glossy finish.
This method is easy and can be done at home, saving you a trip to the salon. Plus, you can customize your nails to match any outfit or occasion!
Nail Care Myths Debunked
Nail care can be confusing with so much information out there. The image highlights common myths and facts that can help you take better care of your nails. For example, many believe that cutting cuticles is essential for nail health, but that’s not true. In fact, leaving them intact can prevent infections.
Another myth is that using nail polish makes your nails weak. The truth is, a good quality polish can actually protect your nails from damage. It’s also a misconception that you need to soak your nails in water before a manicure. This can weaken them instead of strengthening them.
The image also points out that using oils can nourish your nails. Regular application can keep them healthy and strong. So, don’t skip that step! Lastly, the idea that you should file your nails in a back-and-forth motion is outdated. Instead, file in one direction to avoid splitting.
Using a Hair Dryer to Speed Up Drying

In the image, you can see a hand with beautifully manicured nails, showcasing a soft pink polish. The person is applying a product, possibly a top coat or drying spray, which adds a nice touch to the nails. The background is cozy, hinting at a relaxing self-care moment.
To use a hair dryer effectively, set it on a cool or low heat setting. Hold it about 12 inches away from your nails. This distance helps to dry the polish without causing it to bubble or smudge. Move the dryer around to ensure even drying.
Using a hair dryer not only saves time but also gives you that salon-fresh look right at home. So, the next time you paint your nails, grab that hair dryer and enjoy your quick-drying session!
Making Your Own Cuticle Oil
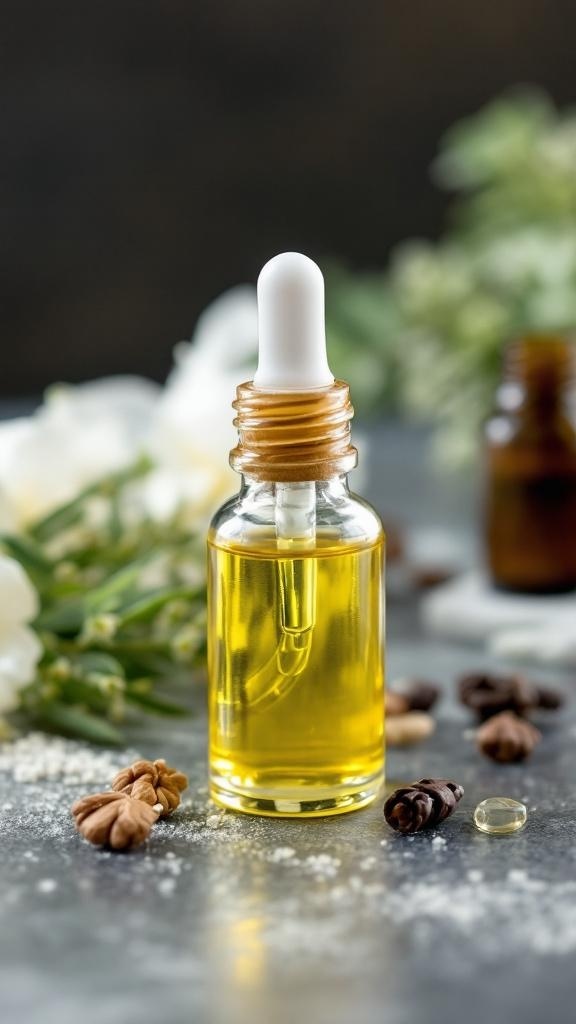
Creating your own cuticle oil is a fun and easy DIY project. The image shows a beautiful glass dropper bottle filled with golden oil, surrounded by natural elements like flowers and nuts. This setup not only looks appealing but also hints at the nourishing ingredients inside.
To make your own cuticle oil, you’ll need a few simple ingredients. Start with a base oil like sweet almond oil or jojoba oil. These oils are great for moisturizing. You can also add essential oils like lavender or tea tree for extra benefits and a lovely scent.
Here’s how to do it: In a small bowl, mix 2 tablespoons of your chosen base oil with a few drops of essential oil. Pour the mixture into a clean dropper bottle. Shake it gently to combine the oils. Now, your homemade cuticle oil is ready to use!
Apply a drop to each cuticle and massage it in. This will keep your cuticles hydrated and healthy, making your nails look fabulous without a salon visit. Plus, it’s a great way to pamper yourself at home!


Comments
Post a Comment